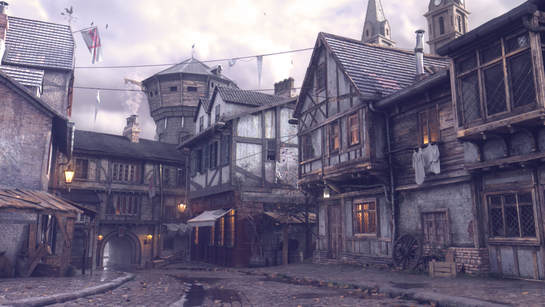
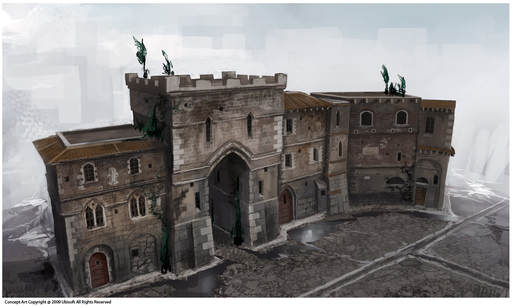
This environment was built during an environmental study. We were given the task of recreating a town based on two images we received and filling in any empty spaces with buildings or pieces of our own creation. Below are the final renders and a video walk through, but further down is the design process and how it was achieved. The programs shown in the top right of this section were used in the creation of this project.
Renders & Video |
Rendered using SolidAngle's Arnold Physical Based Lightning Renderer in Autodesk Maya 2017.4
|
Where it Began
Our first task was to replicate the images seen above before moving onto other areas of the environment.
The Technical Stuff... |
Built entirely in Autodesk Maya then textured through Substance Painter / Photoshop
|
|
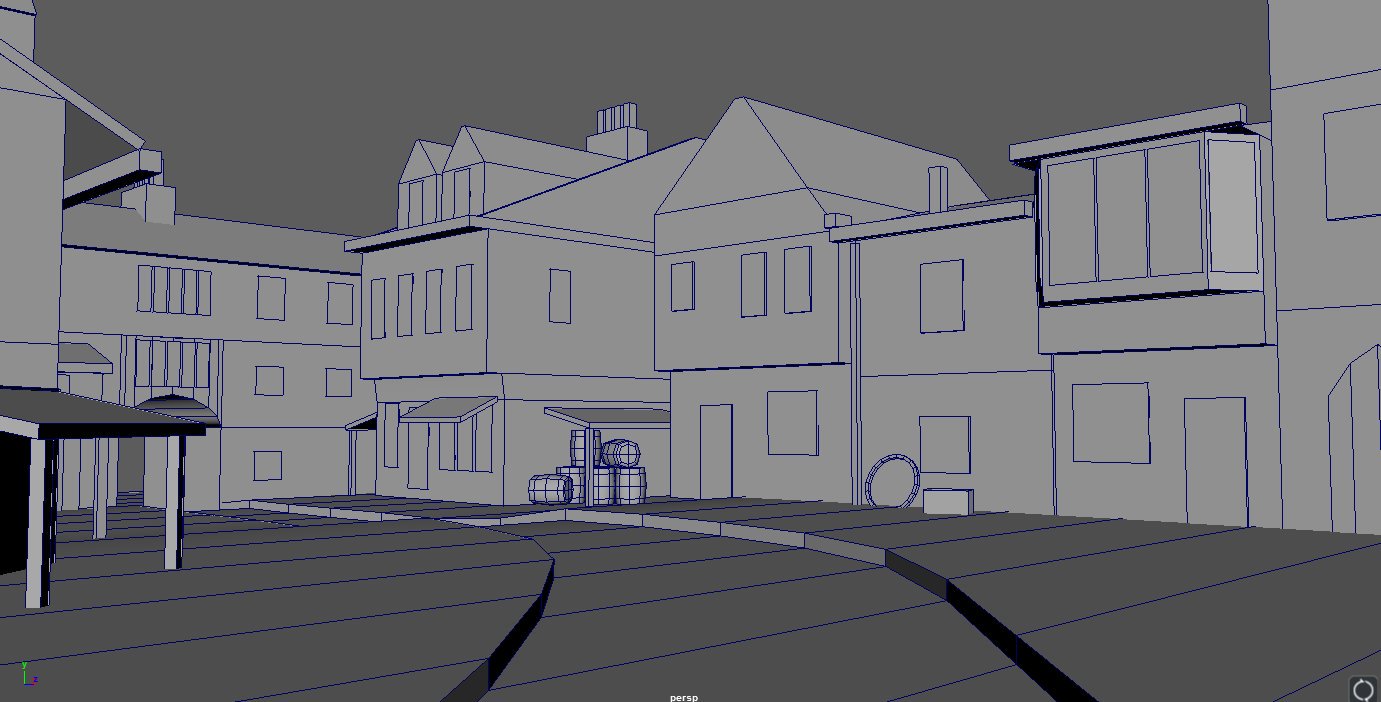
After receiving the images, I first started working on a realistically sized gray box for the scene. Essentially, the gray box gives me ample opportunity to make heavy adjustments without wasting large amounts of my time (and ultimately an employer's time) working on something that is going to be thrown away.
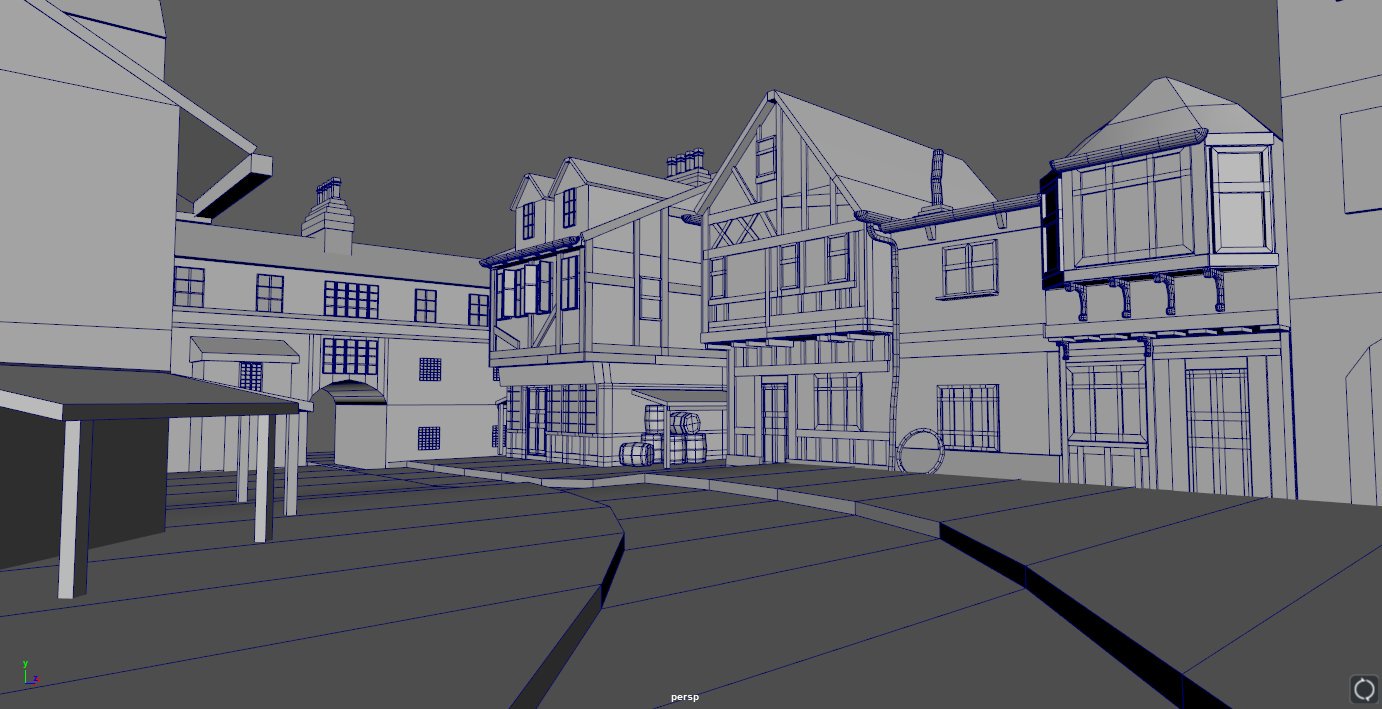
Gray boxes are a quick and dirty way to get your ideas into a 3D environment so you can really start to work in the finer details later. This second image represents the next step in the process of grayboxing. After finalizing some of the locations of building and the tasks needed in order to complete them, I started to model more advanced components to populate the scene.
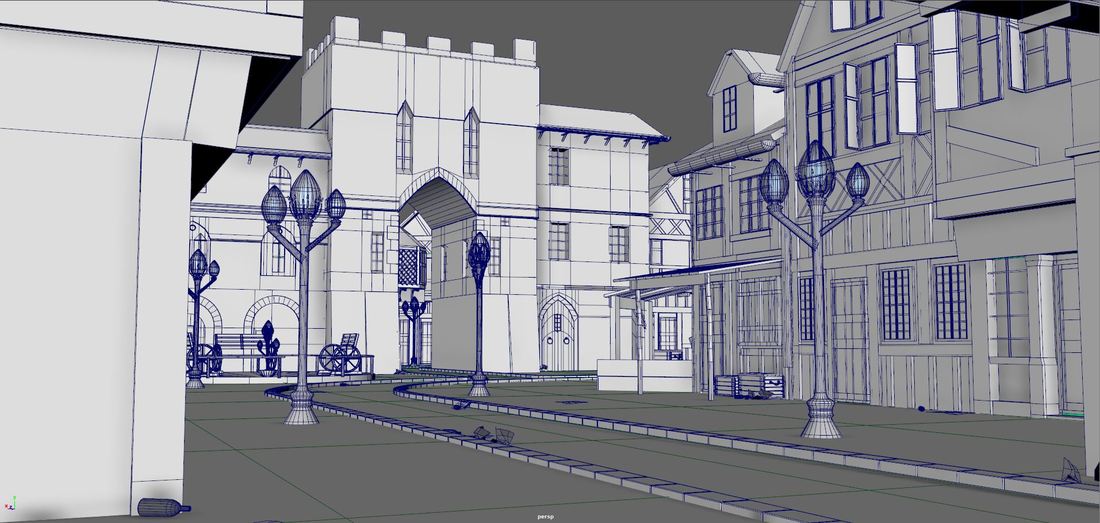
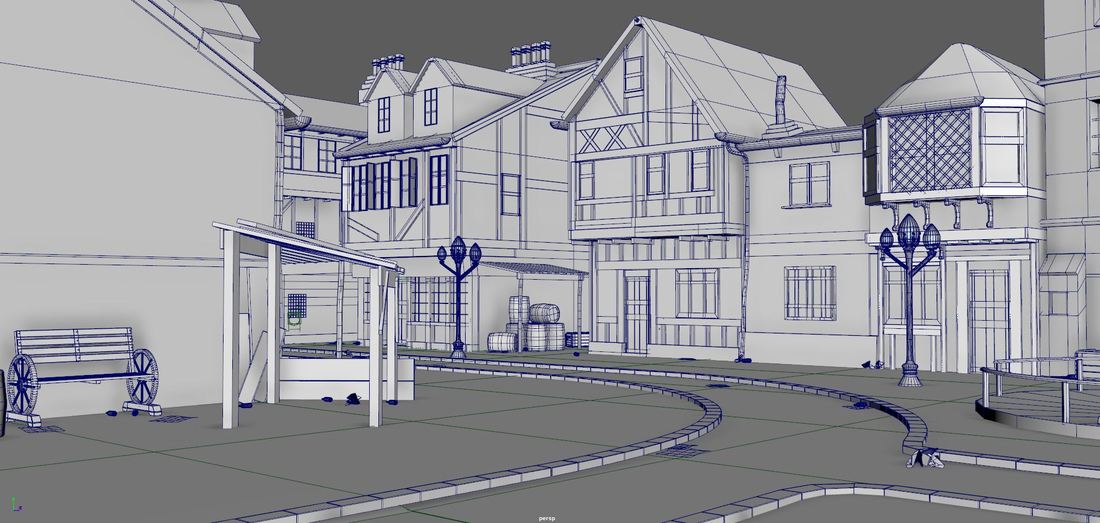
This is where things like the wooden boards on the side of the houses come into play, or the basic structures of the gutters I've included. Eventually everything will be modeled but you don't want to jump head first into high detail. So, I worked at an even pace from start to finish to effectively fill the scene with high quality pieces. Below this section are two images of the final wireframes used in the renders at the top of the page. |
Finalized Wireframes
Environmental Wireframe |
Please feel free to press the play button and fly around this wireframed environment.
|

